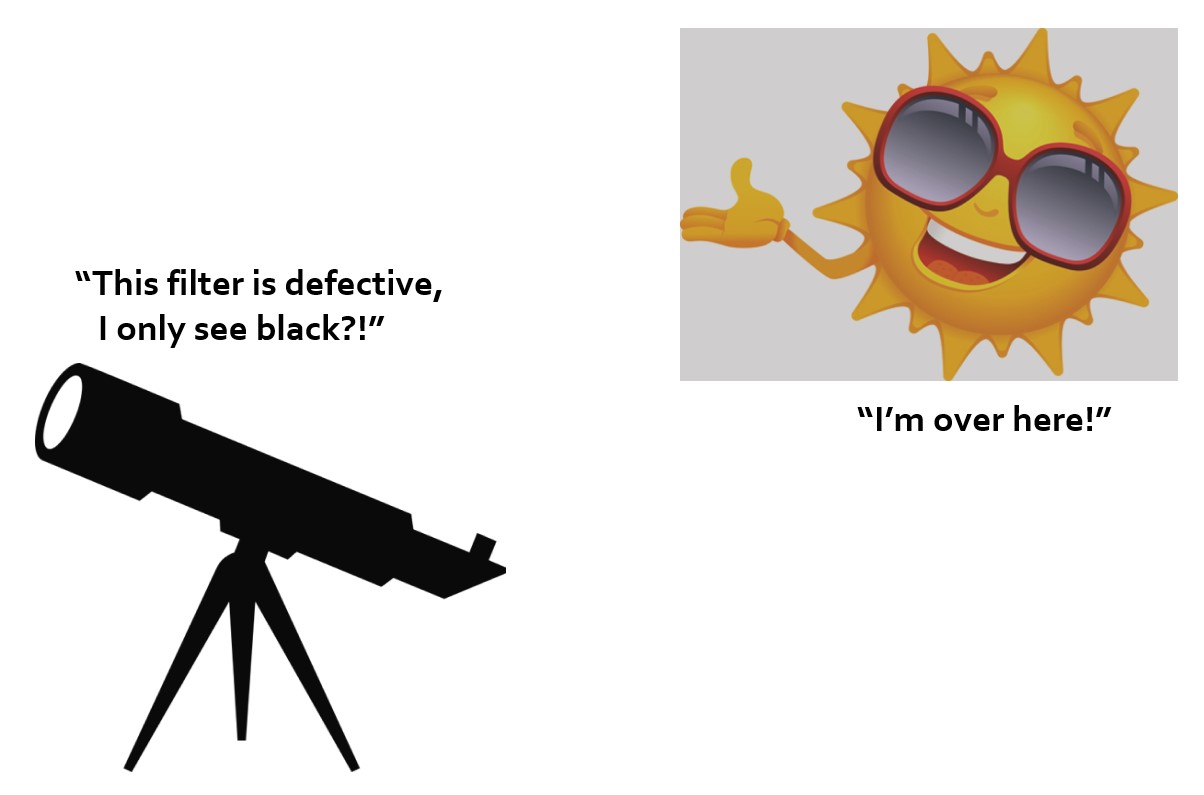
Pointing a high powered telescope at the Sun is actually harder than it sounds, and we have literally had people claim our filters were defective because they couldn’t point the telescope properly. What follows are some things to avoid and some tips for success.
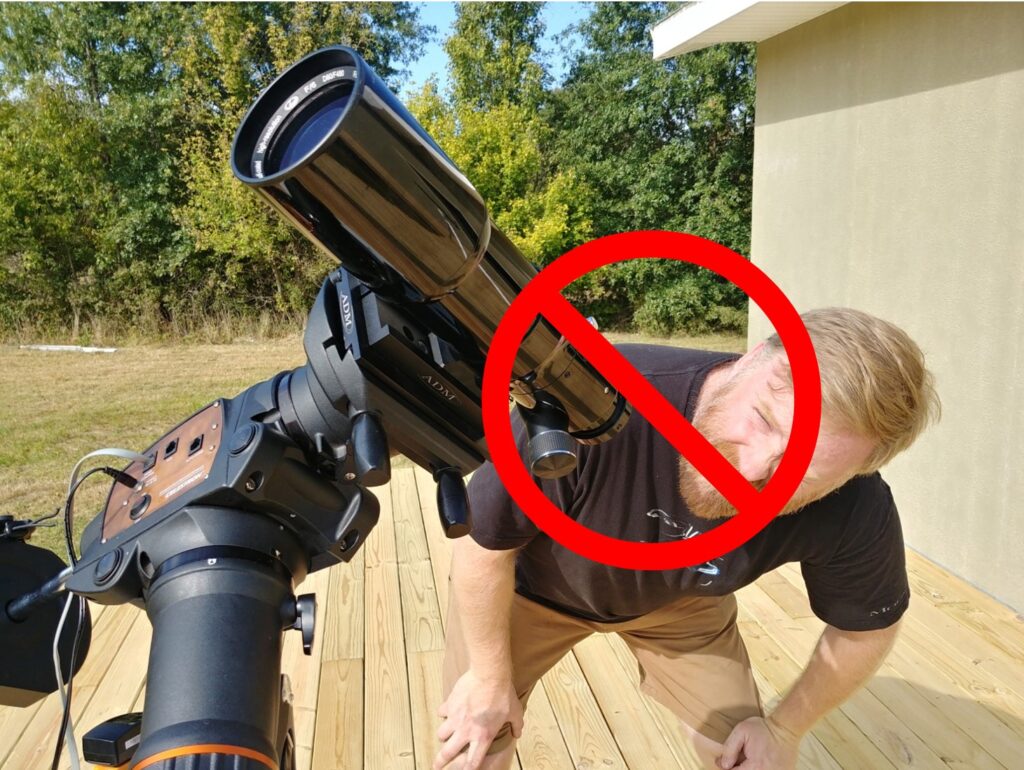
Rule #1: Don’t Look Up the Tube
Not only could you go blind from trying to look at the Sun directly, your neck will also hurt long afterward.
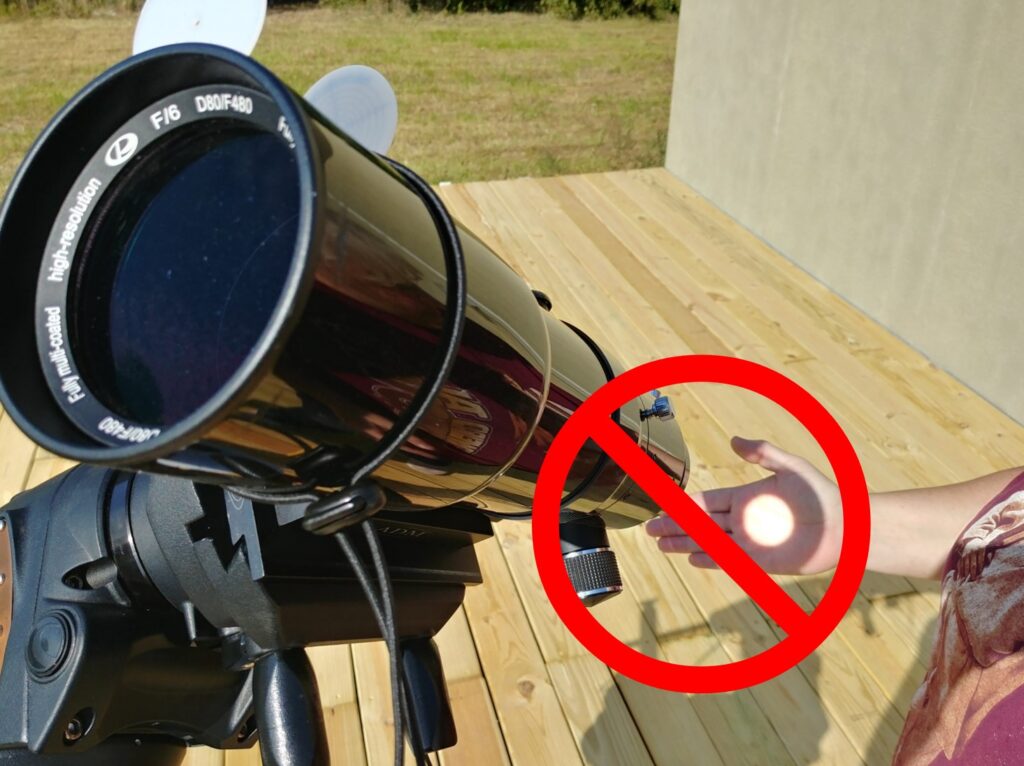
Rule #2: Don’t project unfiltered light.
This could burn your hand and could be especially dangerous to children who might run up and try to look through the telescope. Don’t ever set up an unfiltered telescope with the front cap off.
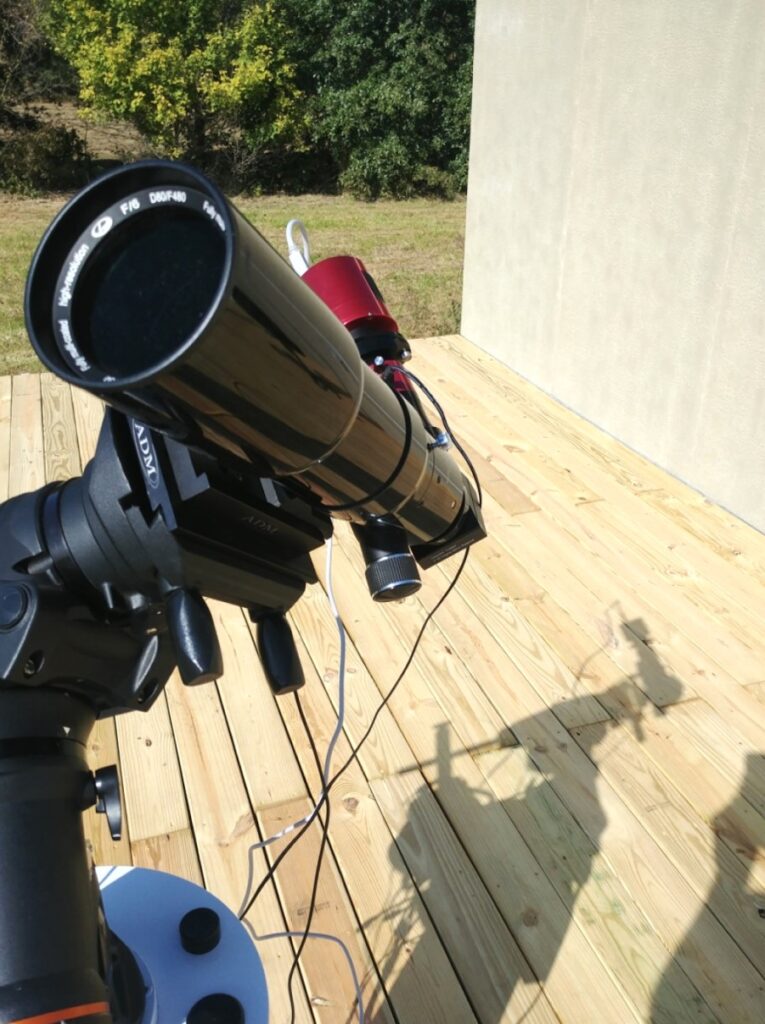
Shrink the Shadow
Start by roughly pointing the telescope towards the Sun and then move it around while observing the shadow of the telescope. Try to make the shadow become smaller, as when the telescope is pointed towards the Sun it should present the skinniest profile.
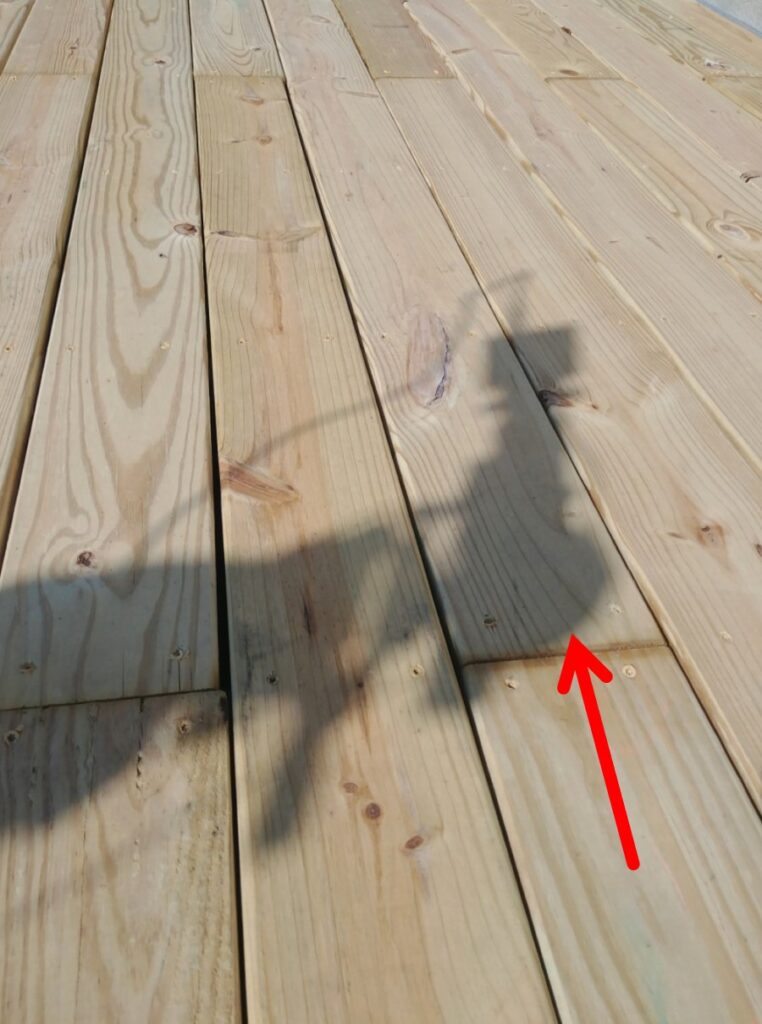
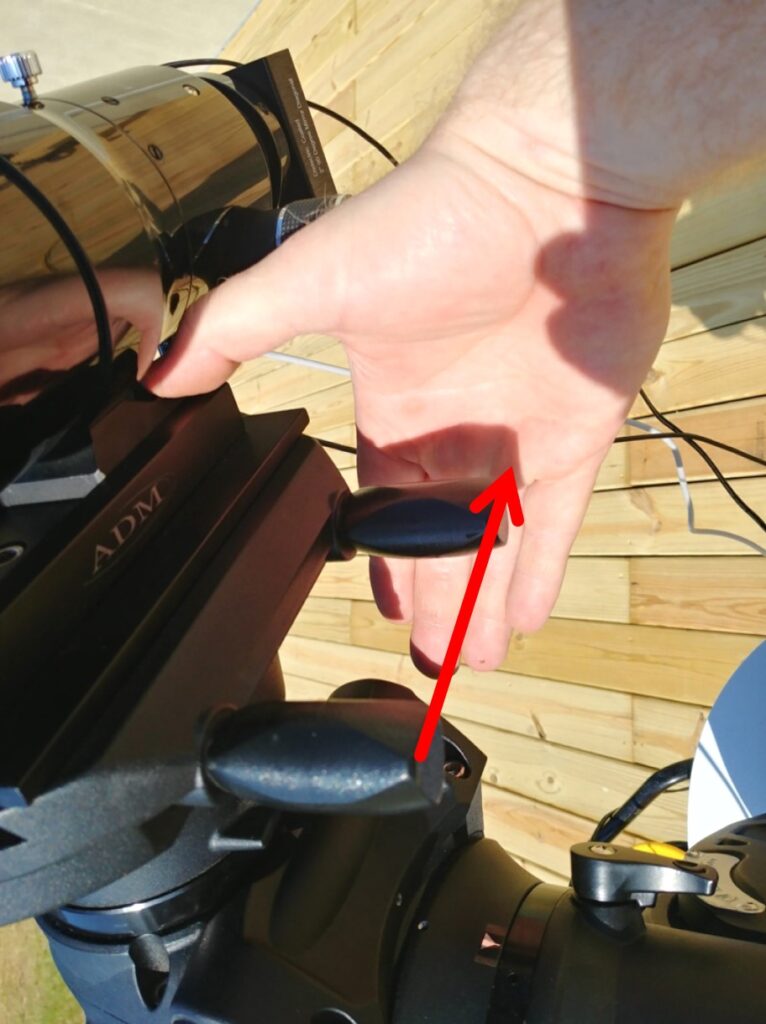
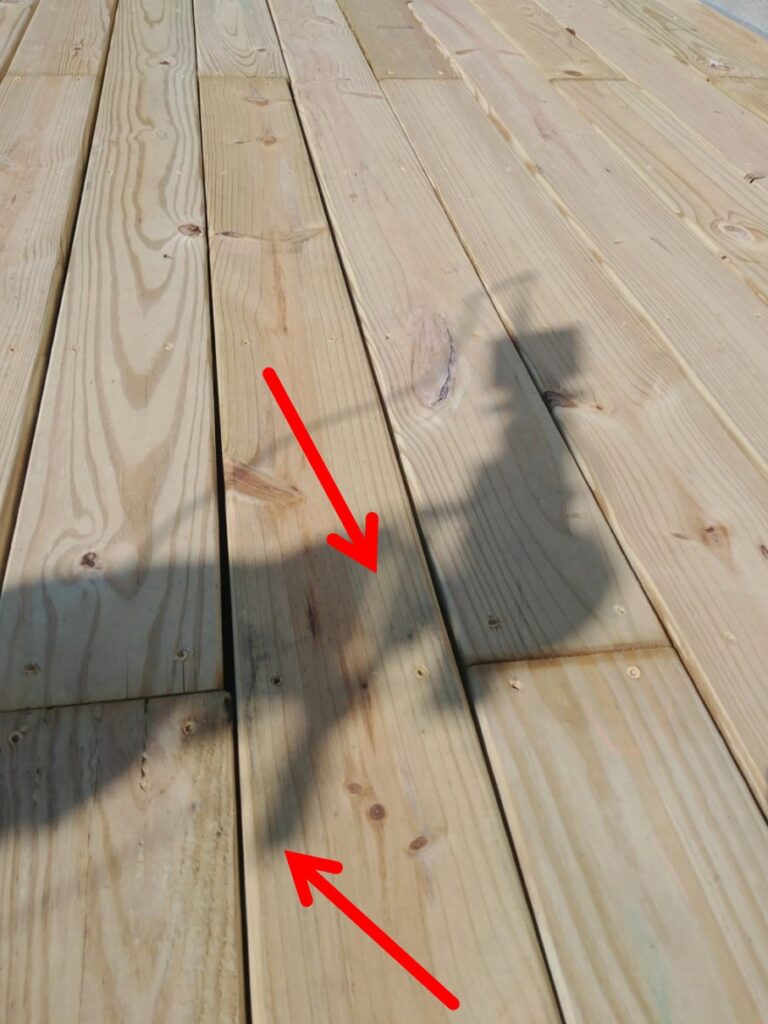
Overlap Knob and Dovetail Shadows
The next trick once you’re getting close is to try to overlap anything the shadows of things like knobs or dovetails or tube ring clamps so they align.
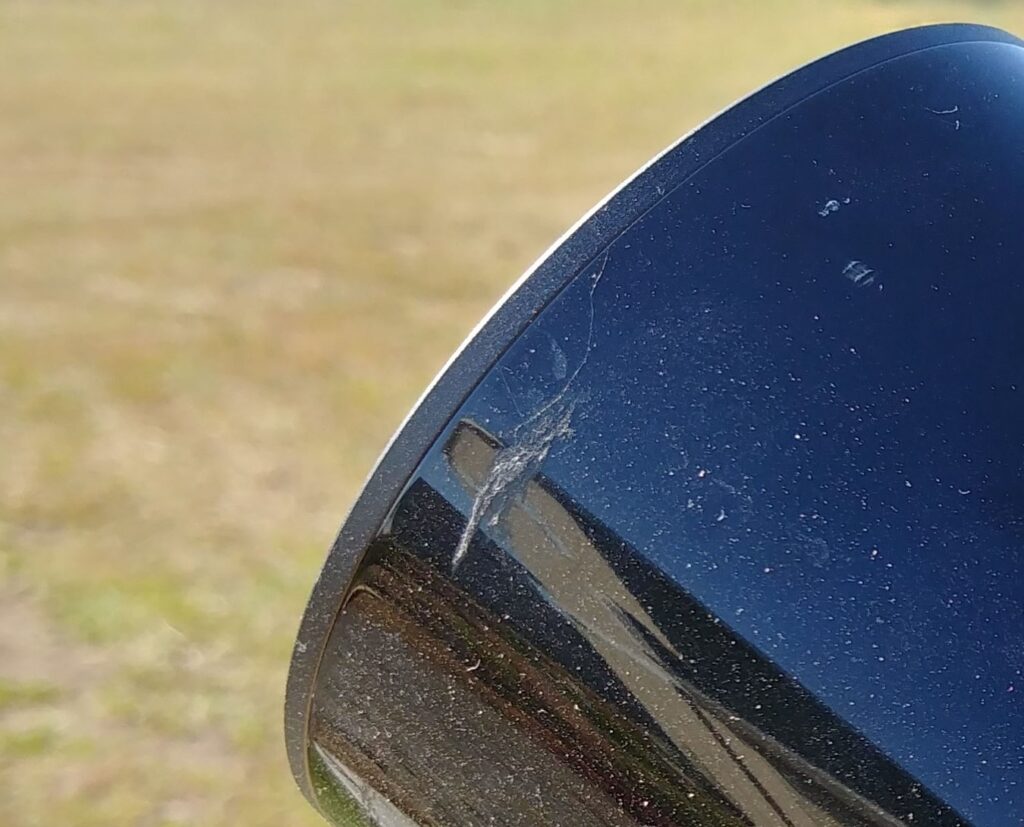
Move Dusty Side Towards Sun
Does one side of the telescope look really dusty? Move that side towards the Sun.
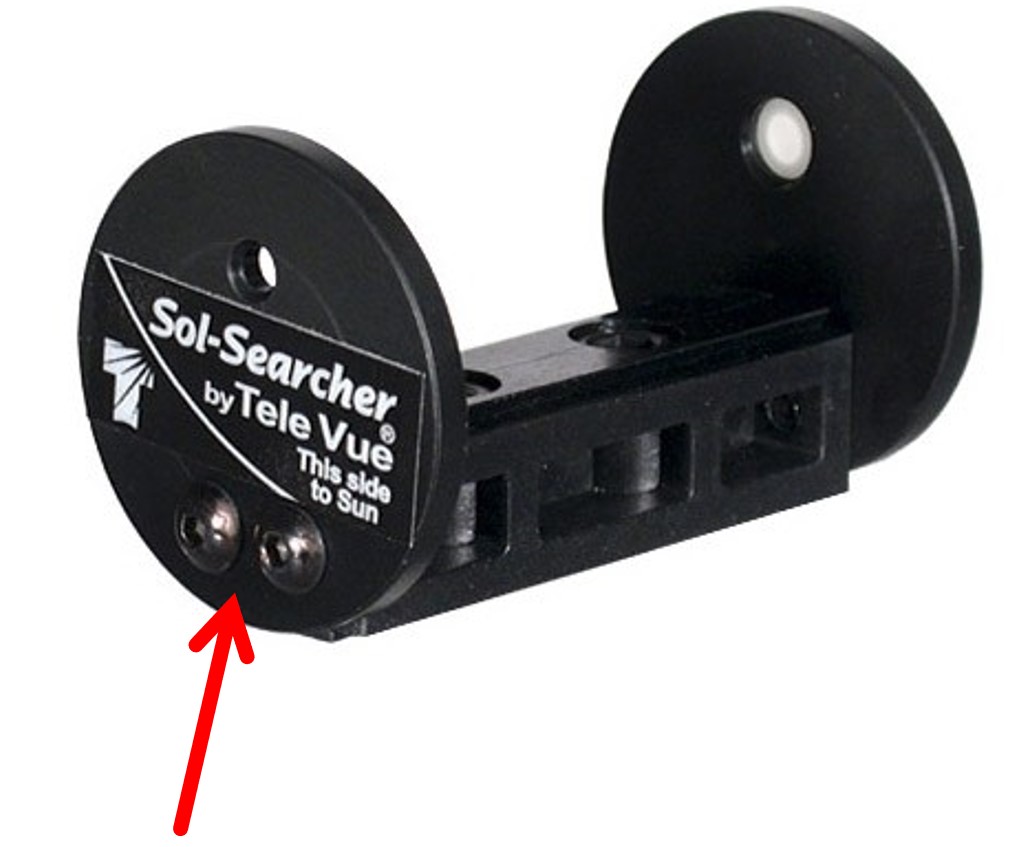
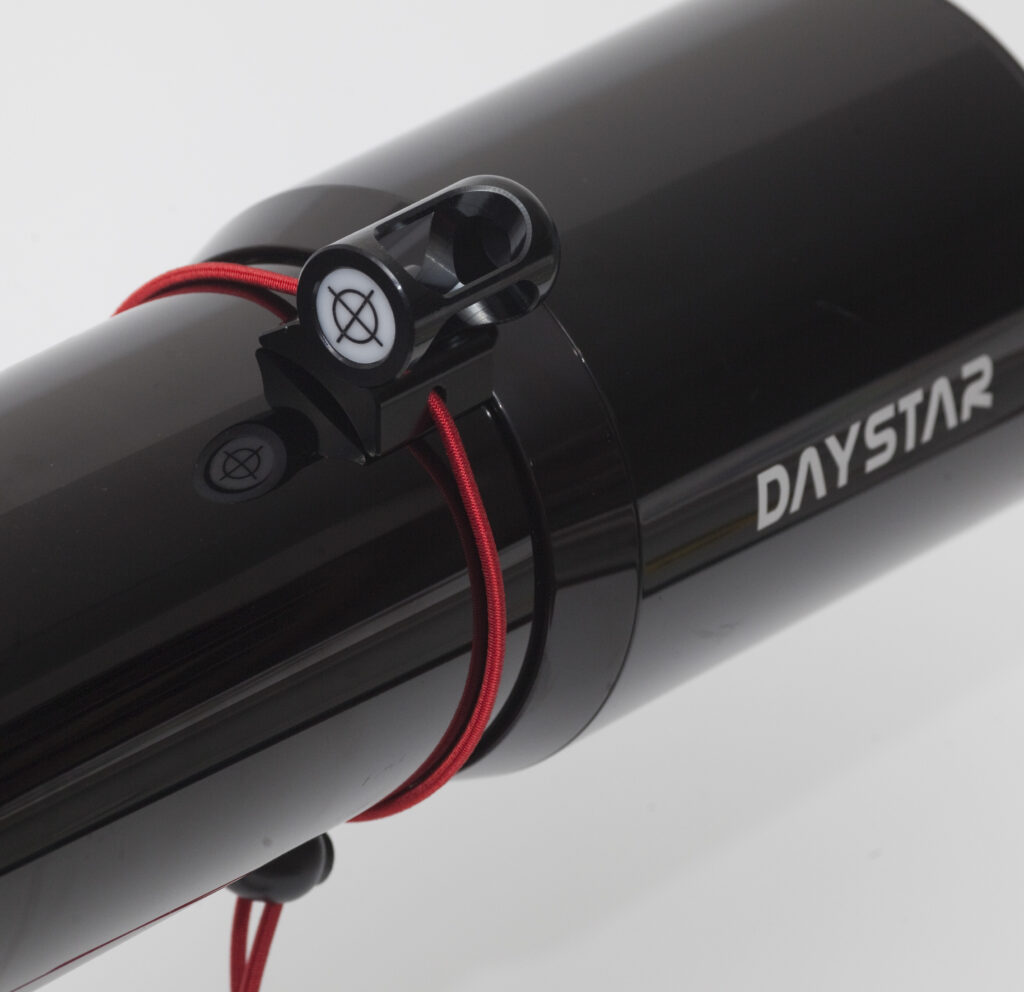
Use a Solar Finder if you got ’em
We recommend our Universal Solar Finder, but there are many kinds out there. Move the telescope until the dot lines up with the bullseye.
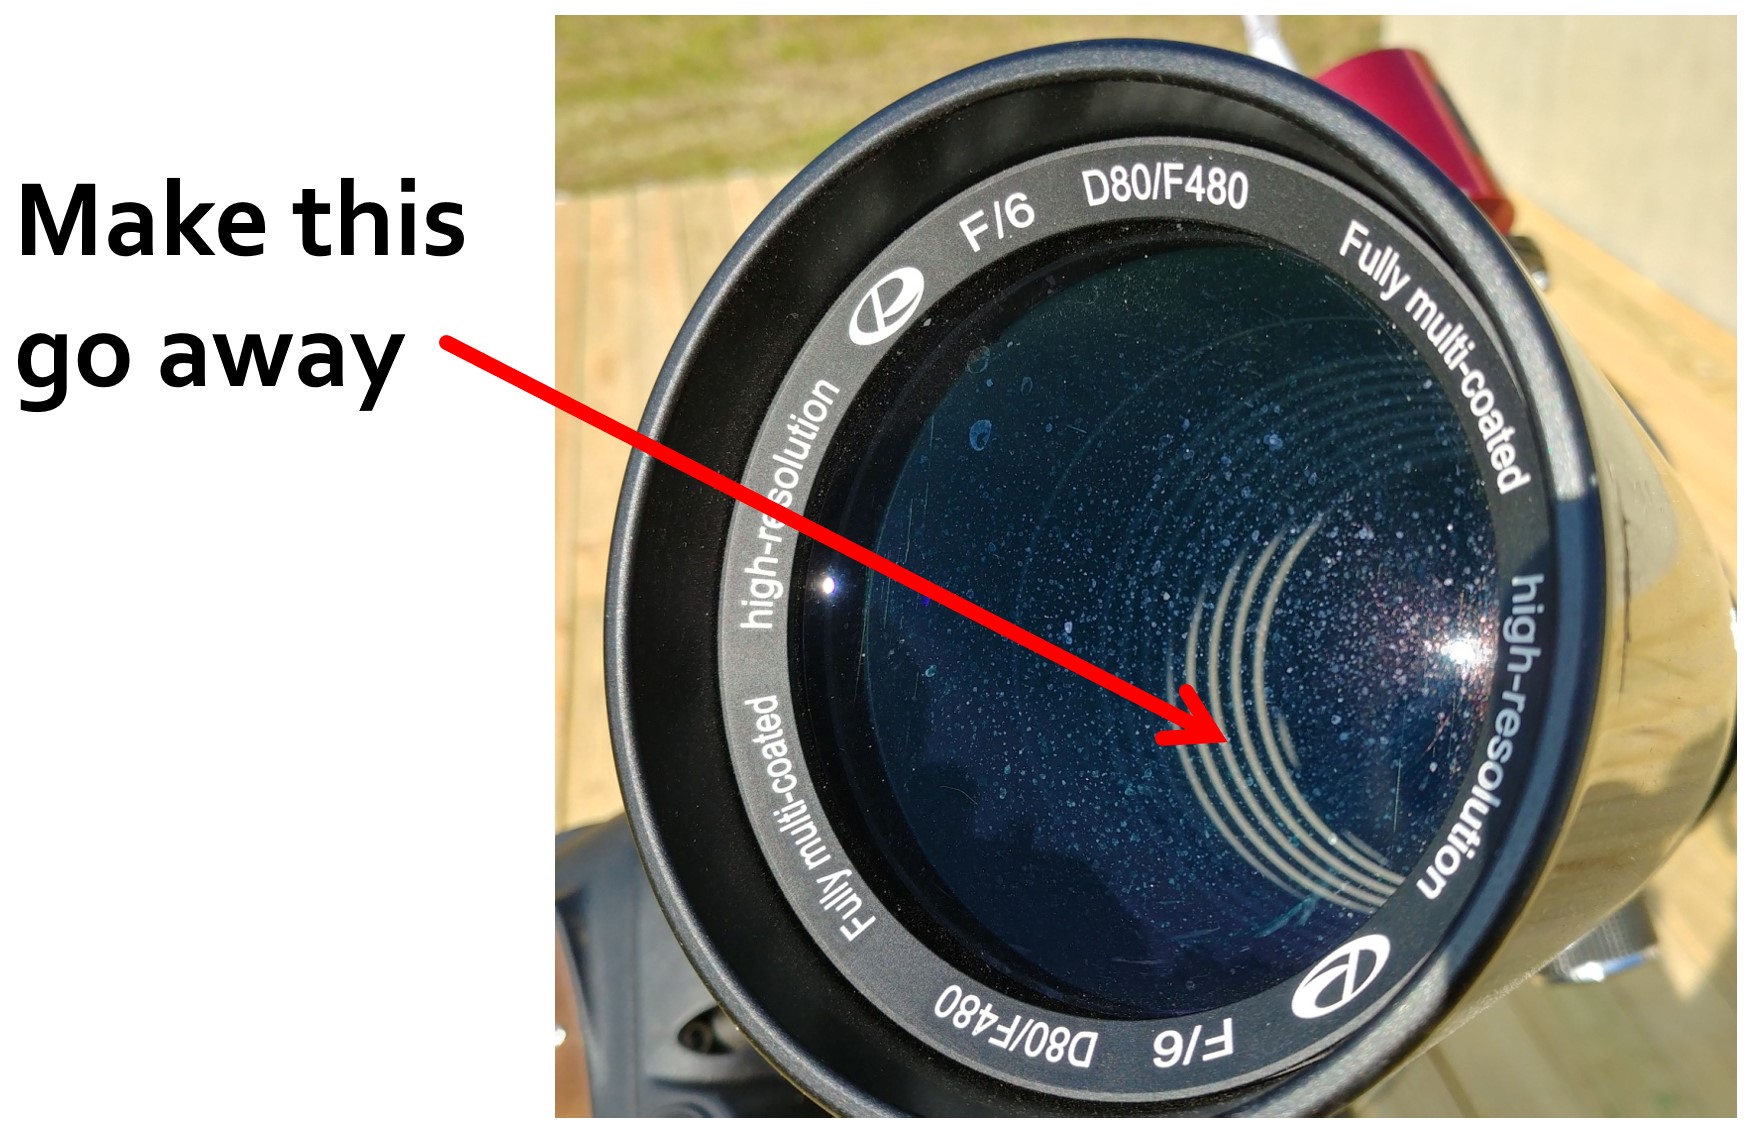
Look for the Lit Interior
Fred’s favorite method is to look inside the front of the telescope (while keeping your head out of the way). If one side is lit up, move the telescope away from that direction.
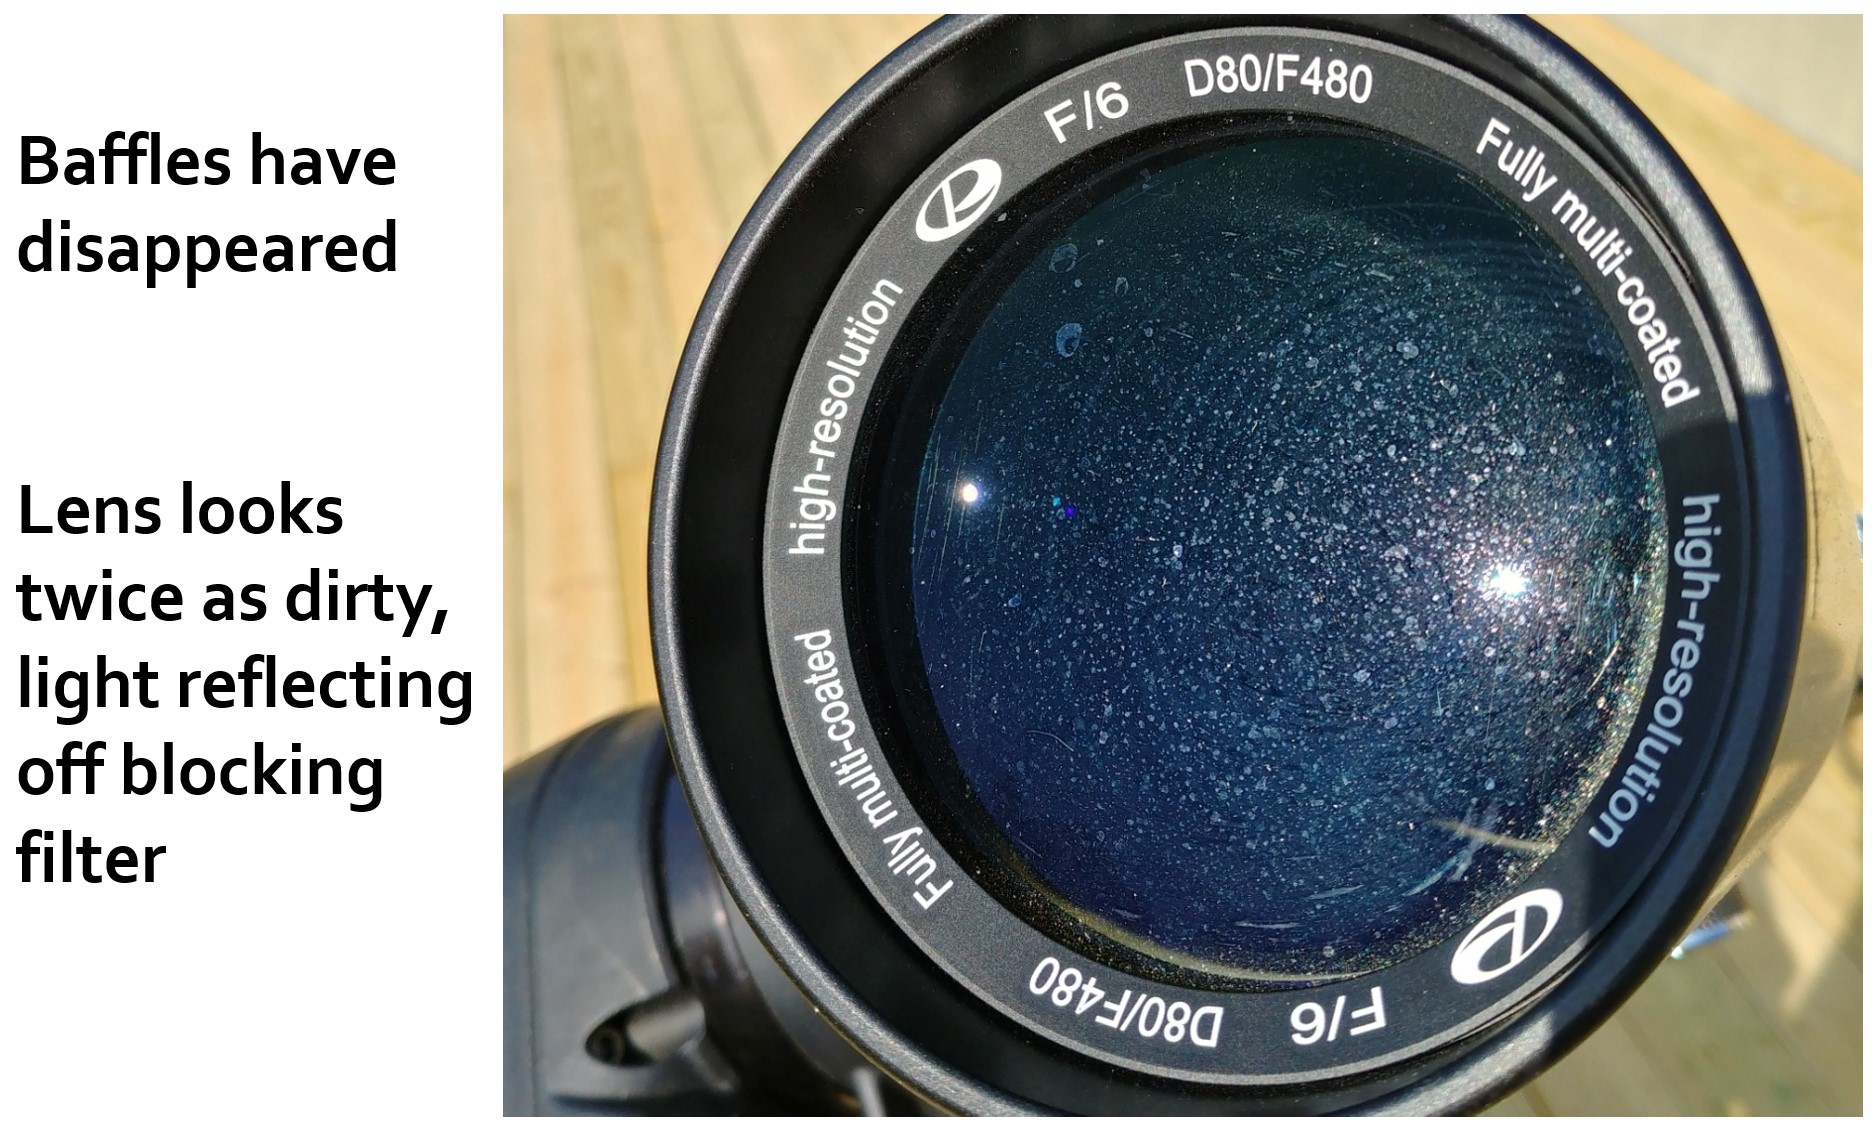
Autocollimation Backlighting
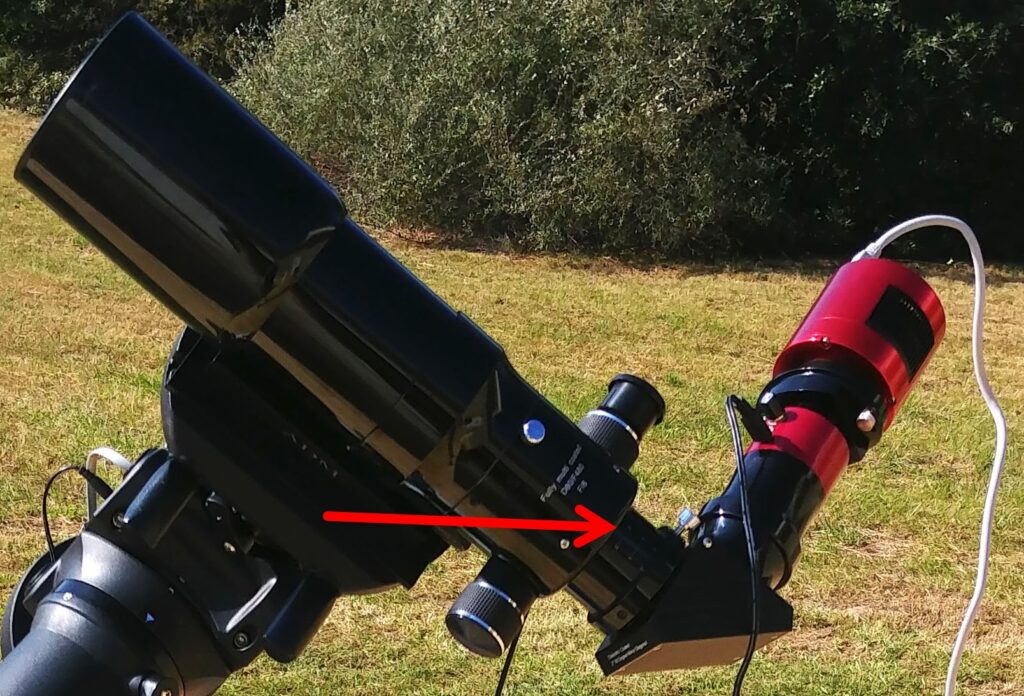
As you move the telescope closer, the blocker on the front of the Quark or Quantum will reflect Sunlight back out of the telescope, backlighting your dirty front objective.
Now Look Through the Eyepiece
You should now be close enough to see the Sun through the eyepiece. Start with your widest (largest millimeter) eyepiece and slew the mount until the Sun is centered.
If you don’t see the Sun, your eye might not be in the cone of light. Move your head up and down, left and right to try to intersect the cone of light.
If you are still hunting around, make small mount pointing adjustments because if you followed the techniques above you will be very close.
Tips when Imaging
Set your gain and exposure time up manually until you can see background noise. Observe your histogram and move the telescope in the direction that the noise level increases.
Beware of the Field Stop
Your solar filter or telescope will have a limited field of view. When you are near that limit, a sharp dark edge appears which can be mistaken for the limb of the Sun.
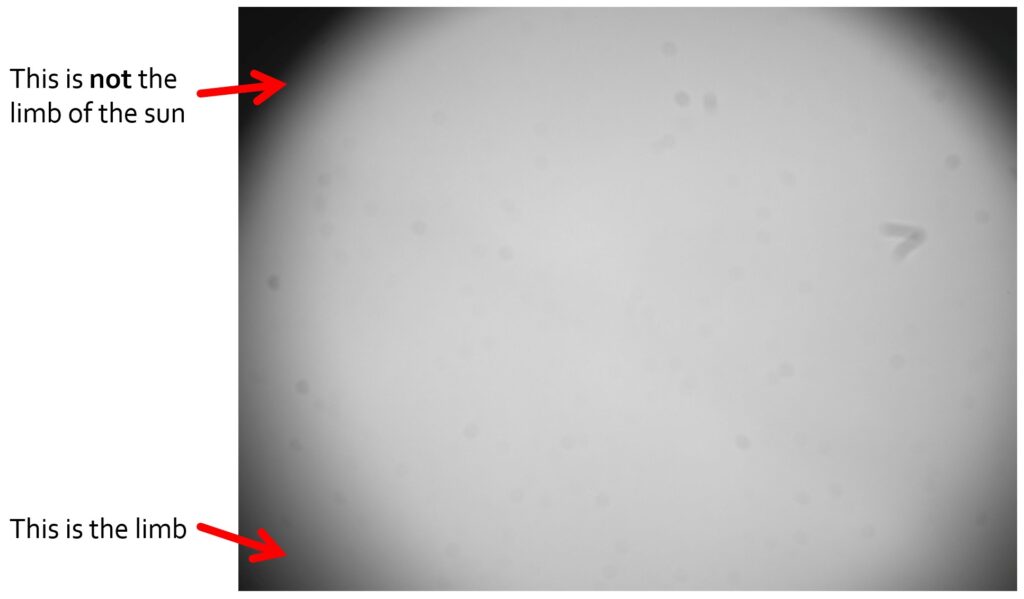
As you adjust focus, the limb will come into focus while the field stop may not.
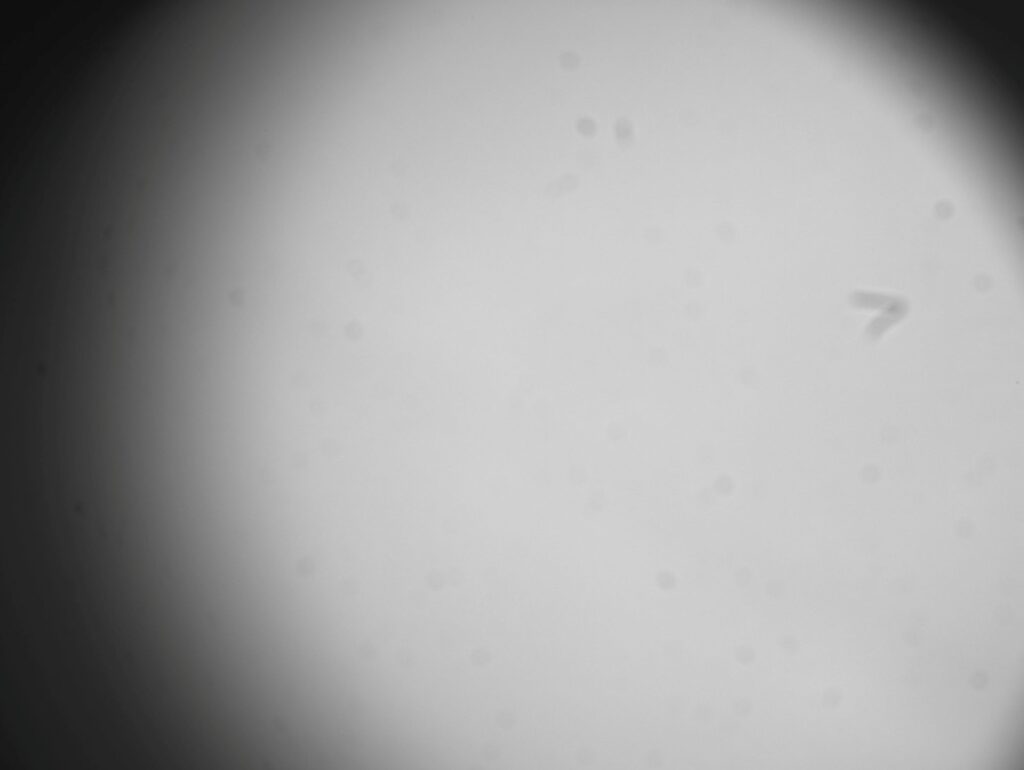
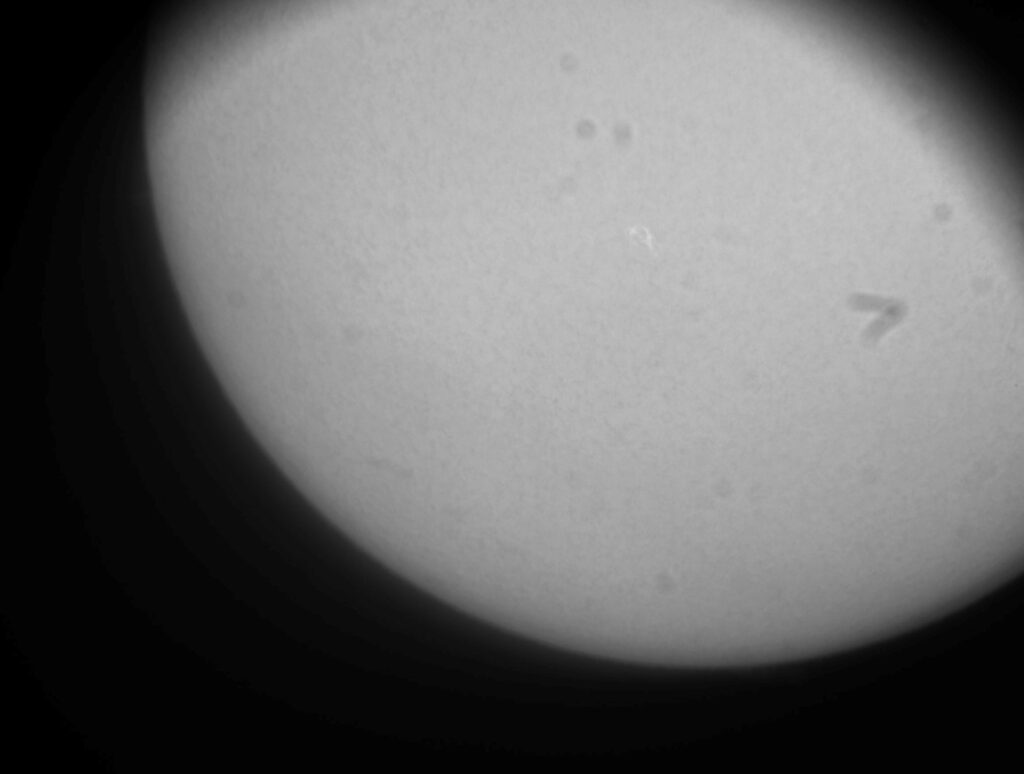
When you have dust spots like shown above, we recommend our Flat Cap to digitally remove them.
Document What Worked
After you get the system working successfully for the first time, take a cellphone photo and also write down the focuser position that worked.
Calibrate Your Finder
If you have a solar finder that is adjustable, now would be a good time to give it an adjustment so that it reads correctly when your system is centered on the Sun.