

Photographers imaging in monochromatic light, such as Hydrogen Alpha, using an electronic sensor frequently encounter a wavy pattern of light and dark lines superimposed over their images. These lines are called interference fringes, interference patterns, banding, or Newton’s Rings. In long focal ratio and/or narrowband monochromatic applications, the nearly parallel light can internally reflect inside the image sensor or camera, causing an addition or subtraction of the light waves, resulting in the observed pattern.
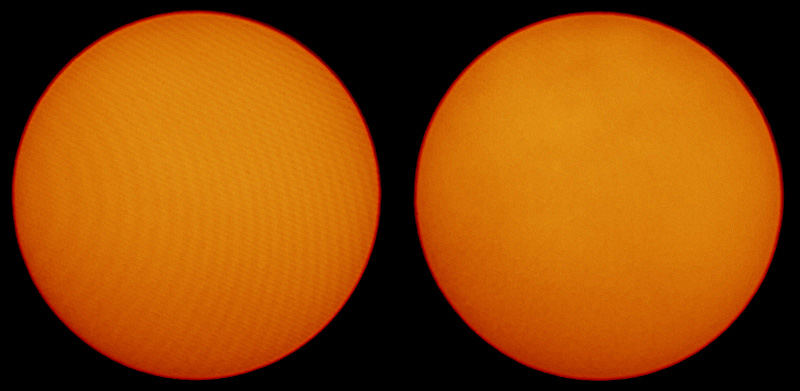
The Interference Eliminator solves this problem by tilting the camera off normal while keeping the center of the image sensor stationary, so that focus, framing, and vignetting are not changed with the tilt. The tilt changes the angle of incidence and optical path lengths inside the image sensor, mitigating the interference.
Installation & Use:
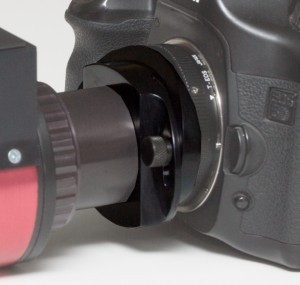
Installation: The Interference Eliminator should be placed directly in front of the camera in the optical train. For proper operation, use the correct spacer between the adapter and camera.
If the distance is significantly different from designed, the camera will move off boresight and the focus position will shift while adjusting the Interference Eliminator tilt setting. This will not prevent proper operation, you will just need to repoint and refocus slightly.
| Camera Type | Tilt Accessory Recommendation |
|---|---|
| T thread with 17.5mm flange focal distance | Tilt Adapter or 0.6x Reducer/Tilt or 0.33x Reducer/Tilt |
| T thread with 12.5mm flange focal distance | Tilt Adapter or 0.6x Reducer/Tilt or 0.33x Reducer/Tilt WITH included 5mm spacer between tilt and camera |
| T thread with 55mm flange focal distance | MG0408 T thread interference eliminator |
| C thread with 17.5mm flange focal distance | IECC C thread interference eliminator or IE2C 2″ to C interference eliminator |
| CS thread with 12.5mm flange focal distance | IECC C thread interference eliminator with third party C/CS adapter spacer |
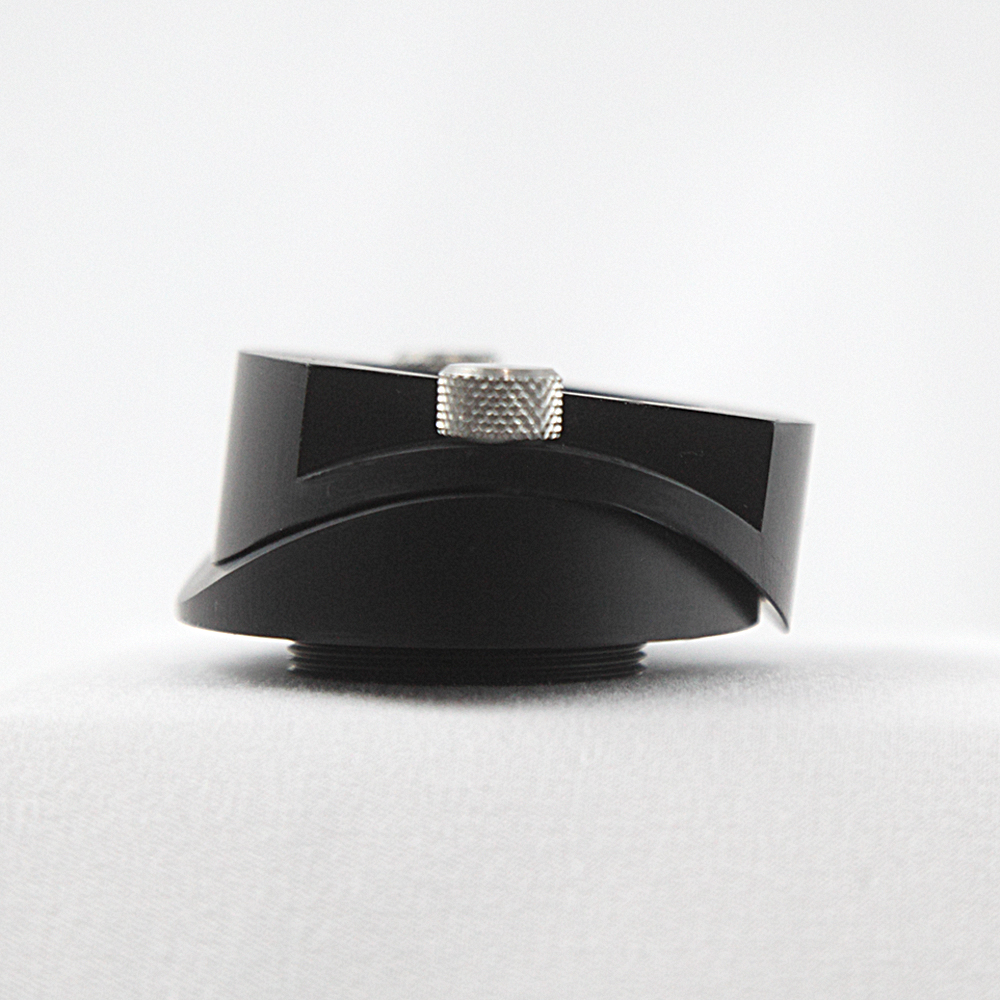
Use: Slightly loosen the thumbscrews and slide the two halves of the Interference Eliminator apart, such that the camera tilts. Take a few images with the camera to check for the interference pattern. Slide further apart if the pattern is still evident. Tilt it the minimum amount to eliminate fringes – too far and focus could be lost at the top and bottom of the image, especially in fast focal ratio systems. If maximum tilt is reached without satisfactory effect, try full tilt in the opposite direction. In some severe instances the interference pattern may not be completely removable, but it will be reduced to where other techniques such as flatfielding or compositing can make the image acceptable.
Notes: On large sensors such as full frame 36x24mm DSLR cameras, some vignetting is possible at full tilt due to the camera structure and the inside diameter of the T thread. For an example of a full frame Canon EOS 5D image at full tilt, click here. With webcams or 1.5-1.6x crop digital SLRs no vignetting will occur.
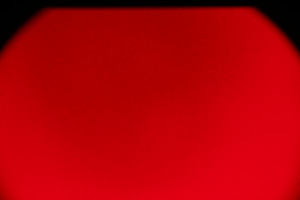